
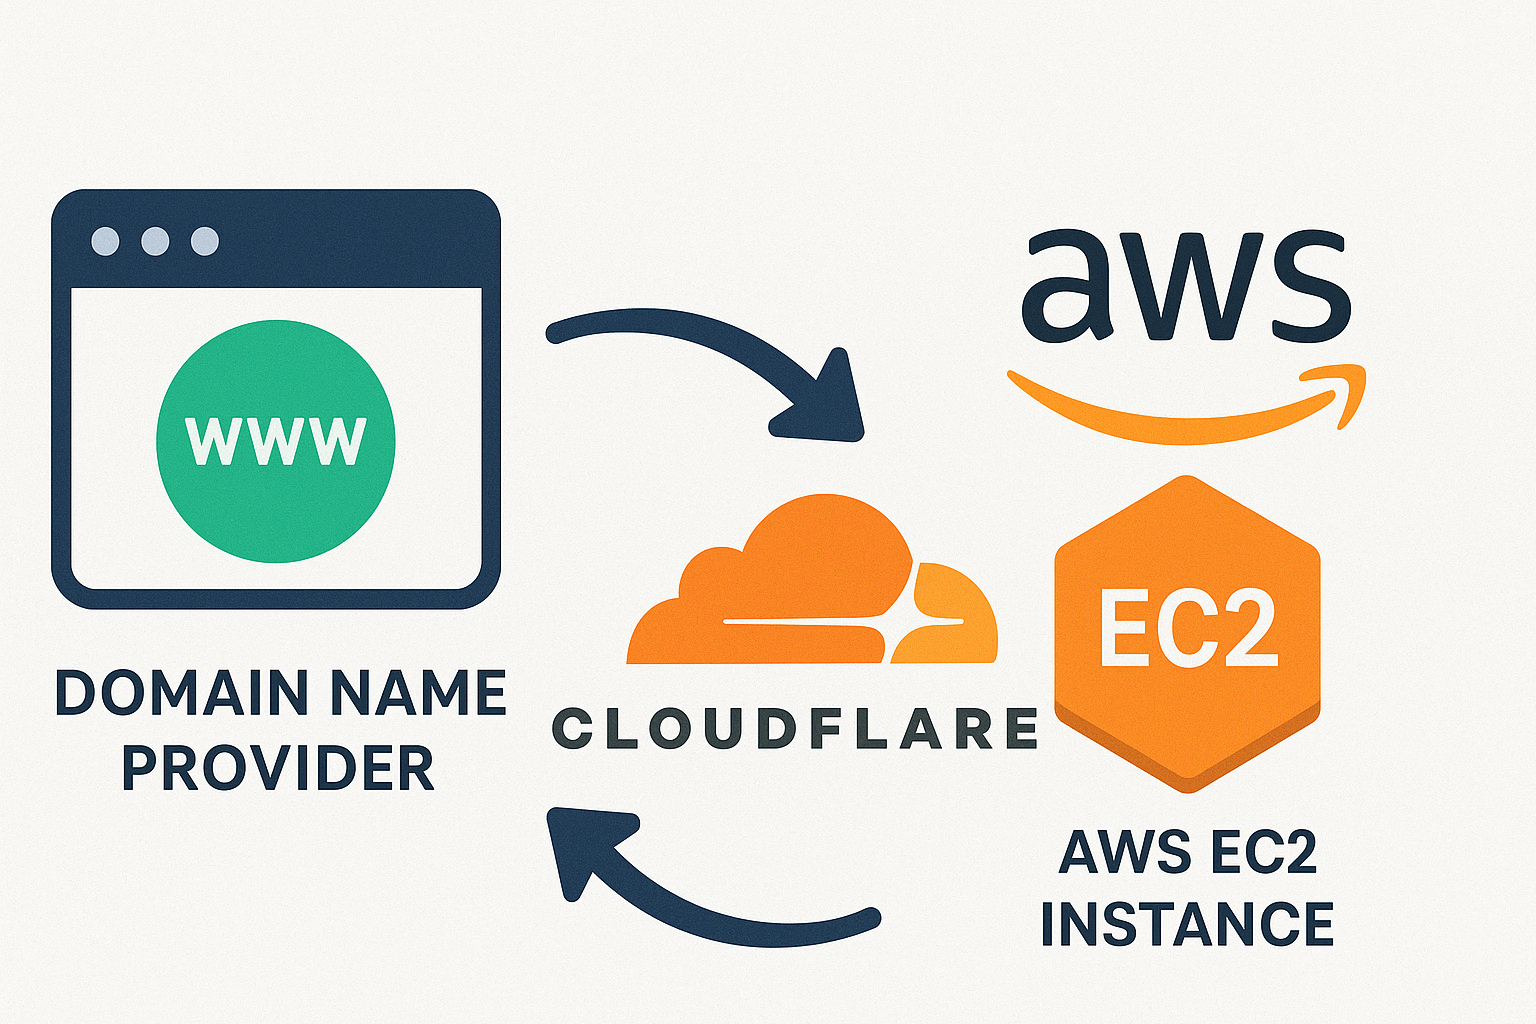
How to Connect a Domain on Cloudflare to AWS EC2 Instance
✅ Requirements
- A registered domain name (e.g., mydomain.com.np)
- A Cloudflare account
- AWS EC2 instance
Step 1: Add Your Domain to Cloudflare
-
Log in to https://dash.cloudflare.com
-
Click “Add a Site”
-
Enter your domain (e.g., mydomain.com.np)
-
Select the Free plan
-
Let Cloudflare scan existing DNS records
-
Proceed to the next step (you’ll add your EC2 IP next)
Step 2: Point DNS to Your EC2 IP
-
Go to the DNS tab inside your Cloudflare dashboard
-
Add the following A records:
 Type: A
 Name: @
 IPv4 Address: <your EC2 public IP>
 Proxy: ON (orange cloud) or OFF if needed
Optional (for www):
Type: A Name: www IPv4 Address: <same EC2 IP> Proxy: ON -
Click Save
Step 3: Set Cloudflare as Primary & Secondary DNS in Your Domain Provider
Cloudflare gives you two nameservers, for example:
NameServer 1: clark.ns.cloudflare.com
NameServer 2: emma.ns.cloudflare.com
You must copy these and go to your domain registrar (like Namecheap, GoDaddy, etc.):
Example: On register.com.np
-
Visit: https://register.com.np
-
Log in with your account
-
Go to the “Domain List”
-
Click your domain name (e.g. mydomain.com.np)
-
Scroll to the section called Nameservers
-
Replace existing nameservers with:
Primary Nameserver: clark.ns.cloudflare.com Secondary Nameserver: emma.ns.cloudflare.com -
Click Update Nameservers
Note:
- It may take a few minutes to hours for DNS to propagate (~1–24 hrs ⏳)
- please ensure our domain is already approved and active in the .np system.
Step 4: Enable Free SSL (HTTPS) on Cloudflare
Once DNS is active and orange cloud is on (proxy enabled), you can enable SSL:
-
Go to Cloudflare dashboard → SSL/TLS tab
-
Set SSL Mode to:
-
Flexible → if your EC2 has no SSL certificate
-
Full or Full (Strict) → if your EC2 has a valid certificate
-
Note:
- If your EC2 instance does not have an SSL certificate, set SSL/TLS mode to “Flexible” in Cloudflare.
- If your EC2 instance has a valid SSL certificate installed, you should use “Full” or “Full (Strict)” mode for end-to-end encryption.
Conclusion
By setting up Cloudflare as our free DNS service, we gain better control, enhanced security (with SSL), and improved performance for our AWS-hosted website.
In this guide, we:
-
Pointed nameservers from our domain registrar to Cloudflare
-
Set up A records to our EC2 public IP
-
Enabled SSL to secure traffic using Cloudflare.
Once everything is in place, our website becomes globally accessible and benefits from Cloudflare’s powerful edge network and security features — all at no cost.


Leave a comment