
How To Use PostgresSQL With Django
 Django is a Python-based web framework that supports model-template-view design principles. It is free, open-source, and high-level. This framework promotes web development that is both quick and tidy. It handles many of the annoyances of web development, allowing you to concentrate on developing a web app rather than reinventing the wheel.
Lets Create a Database and Database User
Here, I assume that you have already installed postgresSQL into your computer and know how to run it on terminal.

Step1. Create a Database User with Password
Once you are in the PostgreSQL console (psql), create a user with the following command:
CREATE USER user_name WITH PASSWORD 'strong_password';
Step2. Create a Database
The previous command only created the user. Now, create a database and assign the newly created user as its owner:
CREATE DATABASE db_name OWNER user_name;
Step3. Grant Privileges to the User on the Database
Although the database owner already has full privileges, it is common practice to explicitly grant them for clarity:
GRANT ALL PRIVILEGES ON DATABASE db_name TO user_name;
Let’s Configure the Django Database Settings
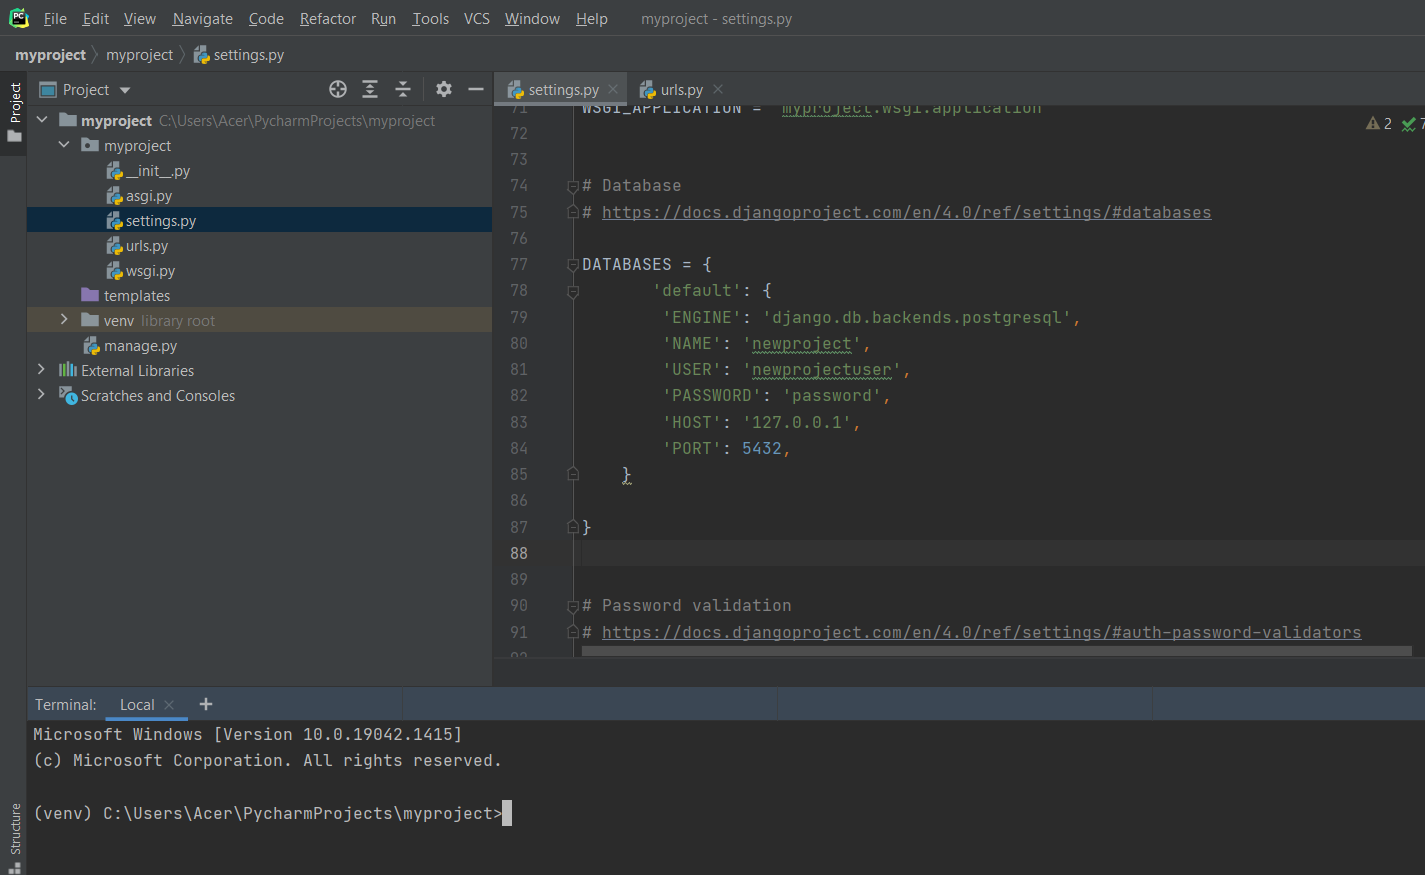
Open the settings file of the Django app and set the database configuration as below:
     DATABASES = {
        'default': {
        'ENGINE': 'django.db.backends.postgresql',
        'NAME': 'db_name',
        'USER': 'user_name',
        'PASSWORD': 'strong_password',
        'HOST': '127.0.0.1',
        'PORT': 5432,
     }
  }
The NAME above is the name of database and USER and PASSWORD is the credential for the user of that database.
Migrate the database and test connection
For python to communicate with PostgresSQL, it requires psycopg2 package else it throws an exception:
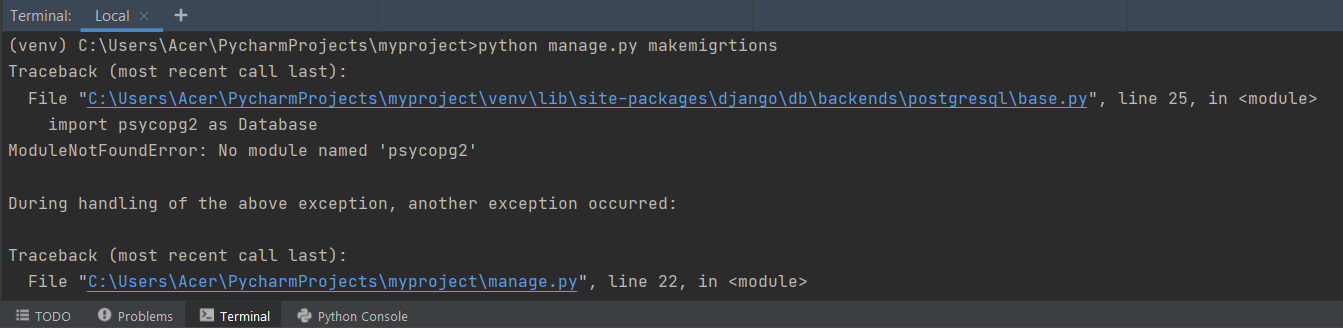
Step1. Run the migrations
So install the package and run migrations command to convert models into database table.
pip install psycopg2
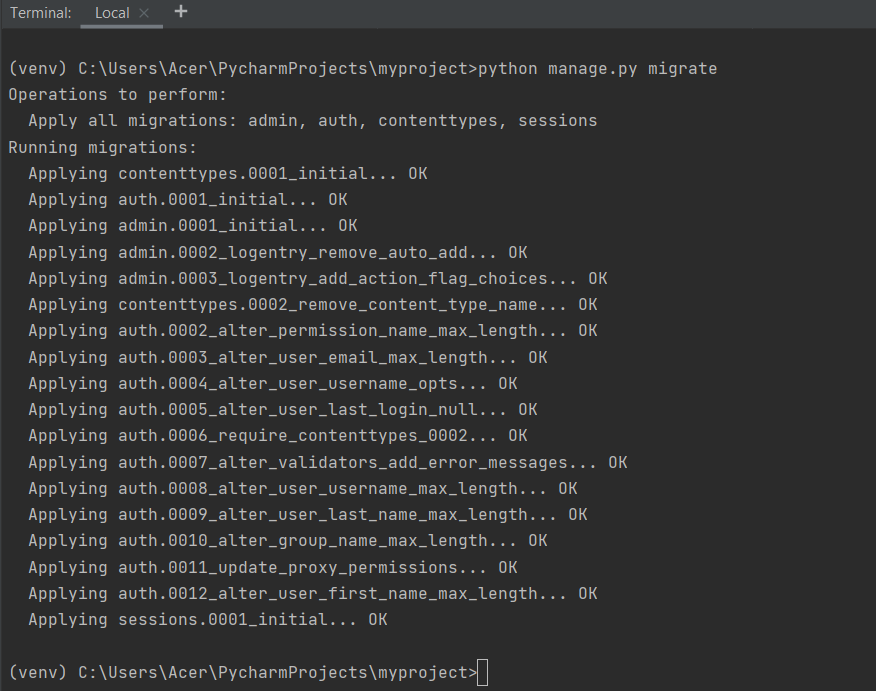
python manage.py migrate
The migration should look like the screenshot below.
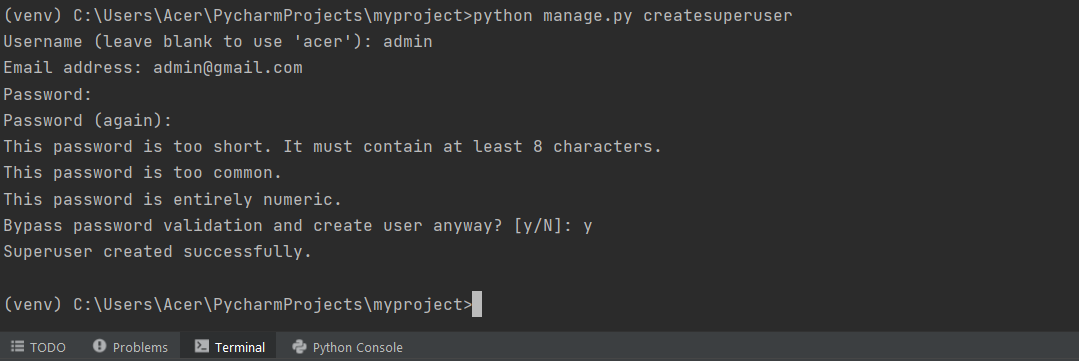
Step2. Create a superuser
python manage.py createsuperuser
After running a command provide username, email and password for super user.
Once you have an admin account, run the Django development server and login.
python manage.py runserver
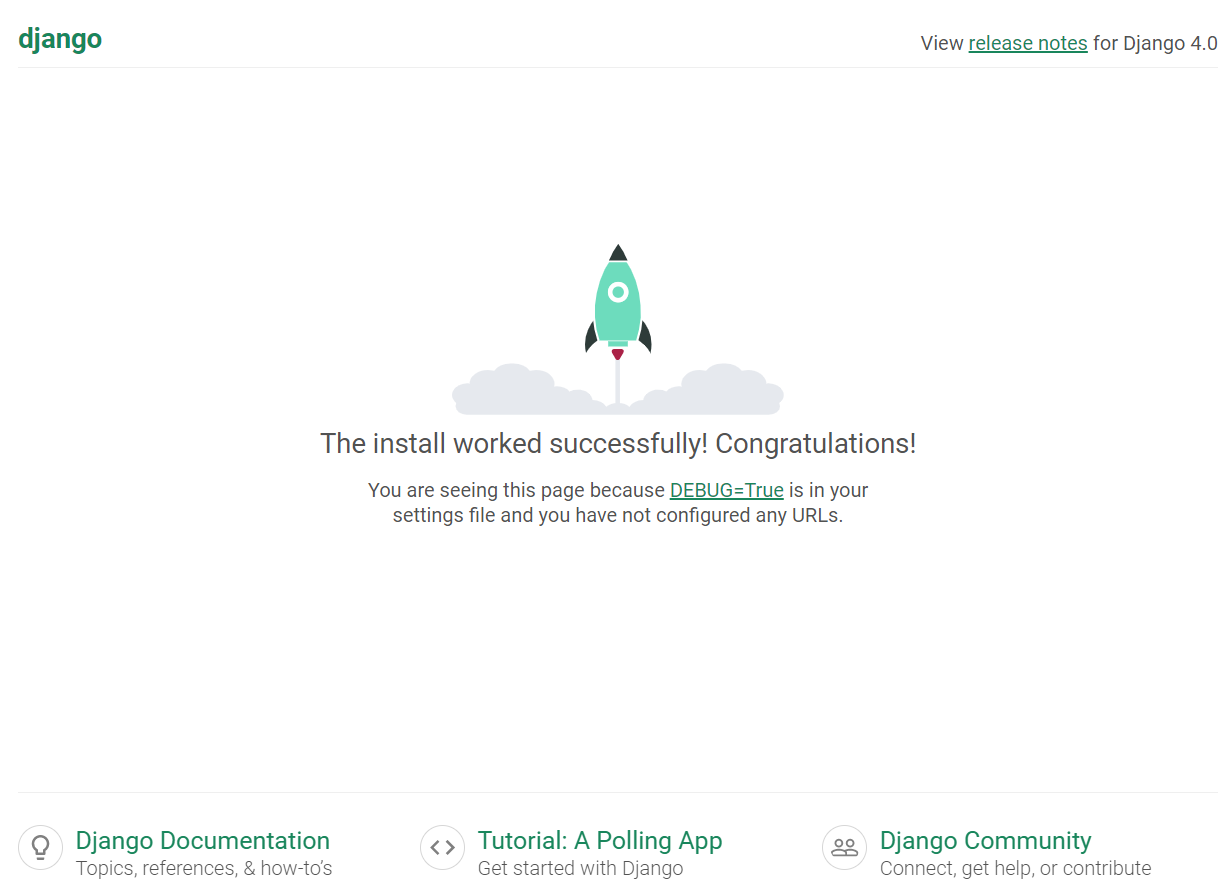
After running server, we should see the default index page at http://127.0.0.1:8000/.
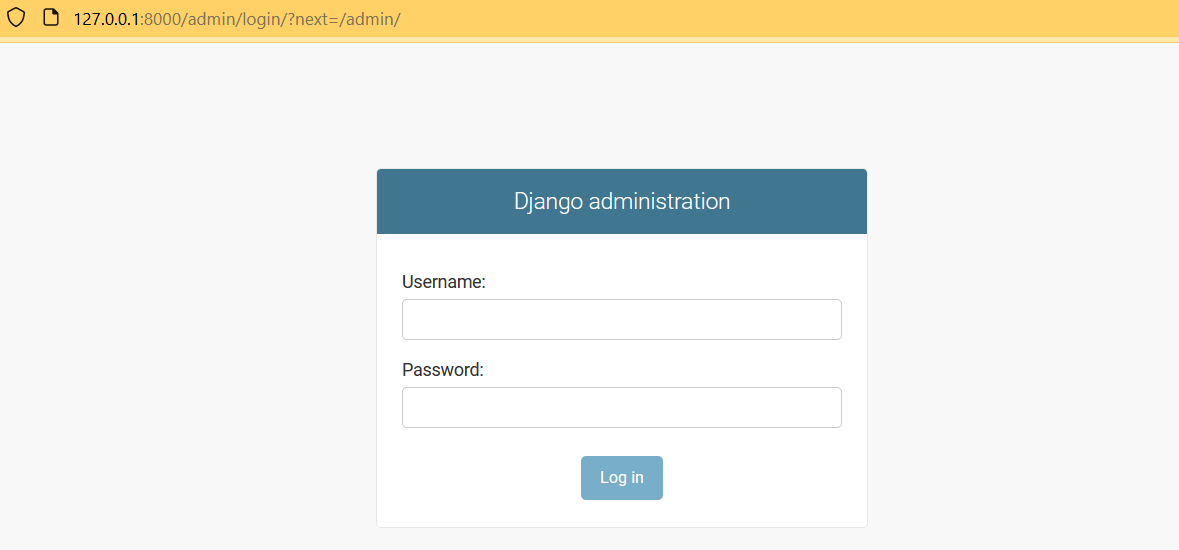
Now open the Django admin login page by appending /admin at end of the url and enter the credential. http://127.0.0.1:8000/admin/
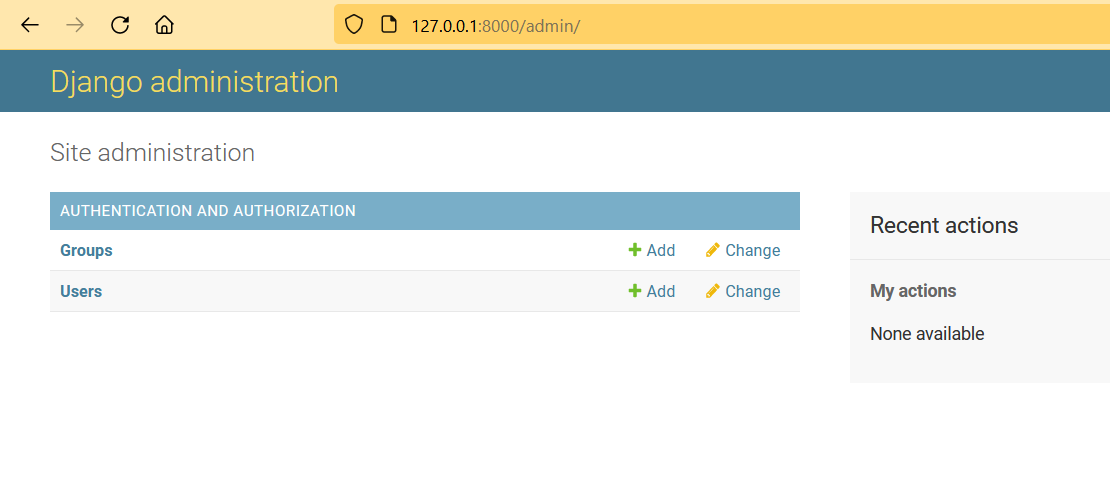
If we could access the admin interface, we have confirmed that the database has stored our account information and and we have configured PostgreSQL as the backend database for a Django project.
Leave a comment